I have the first step of my RV Reno done! It feels so good.
So far I have only been making the trailer look worse and I’m so excited to start getting it looking better!
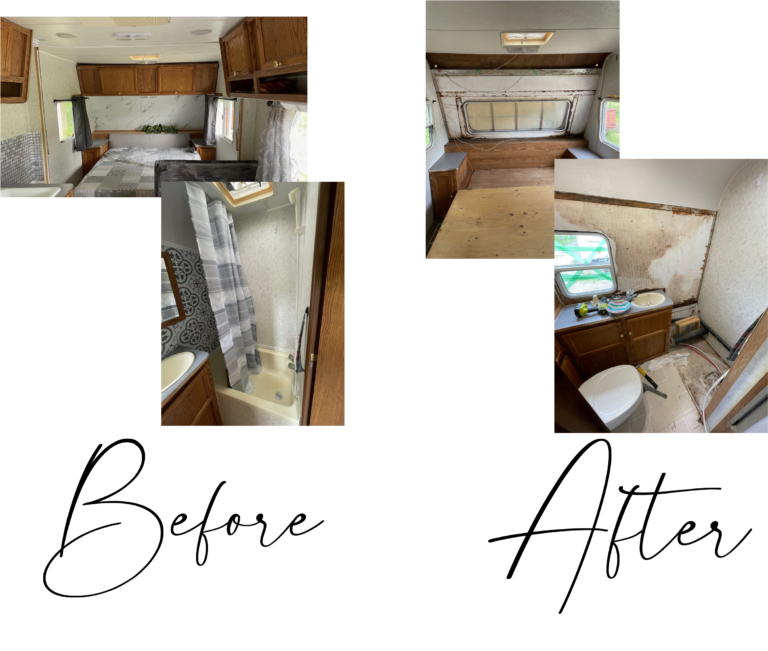
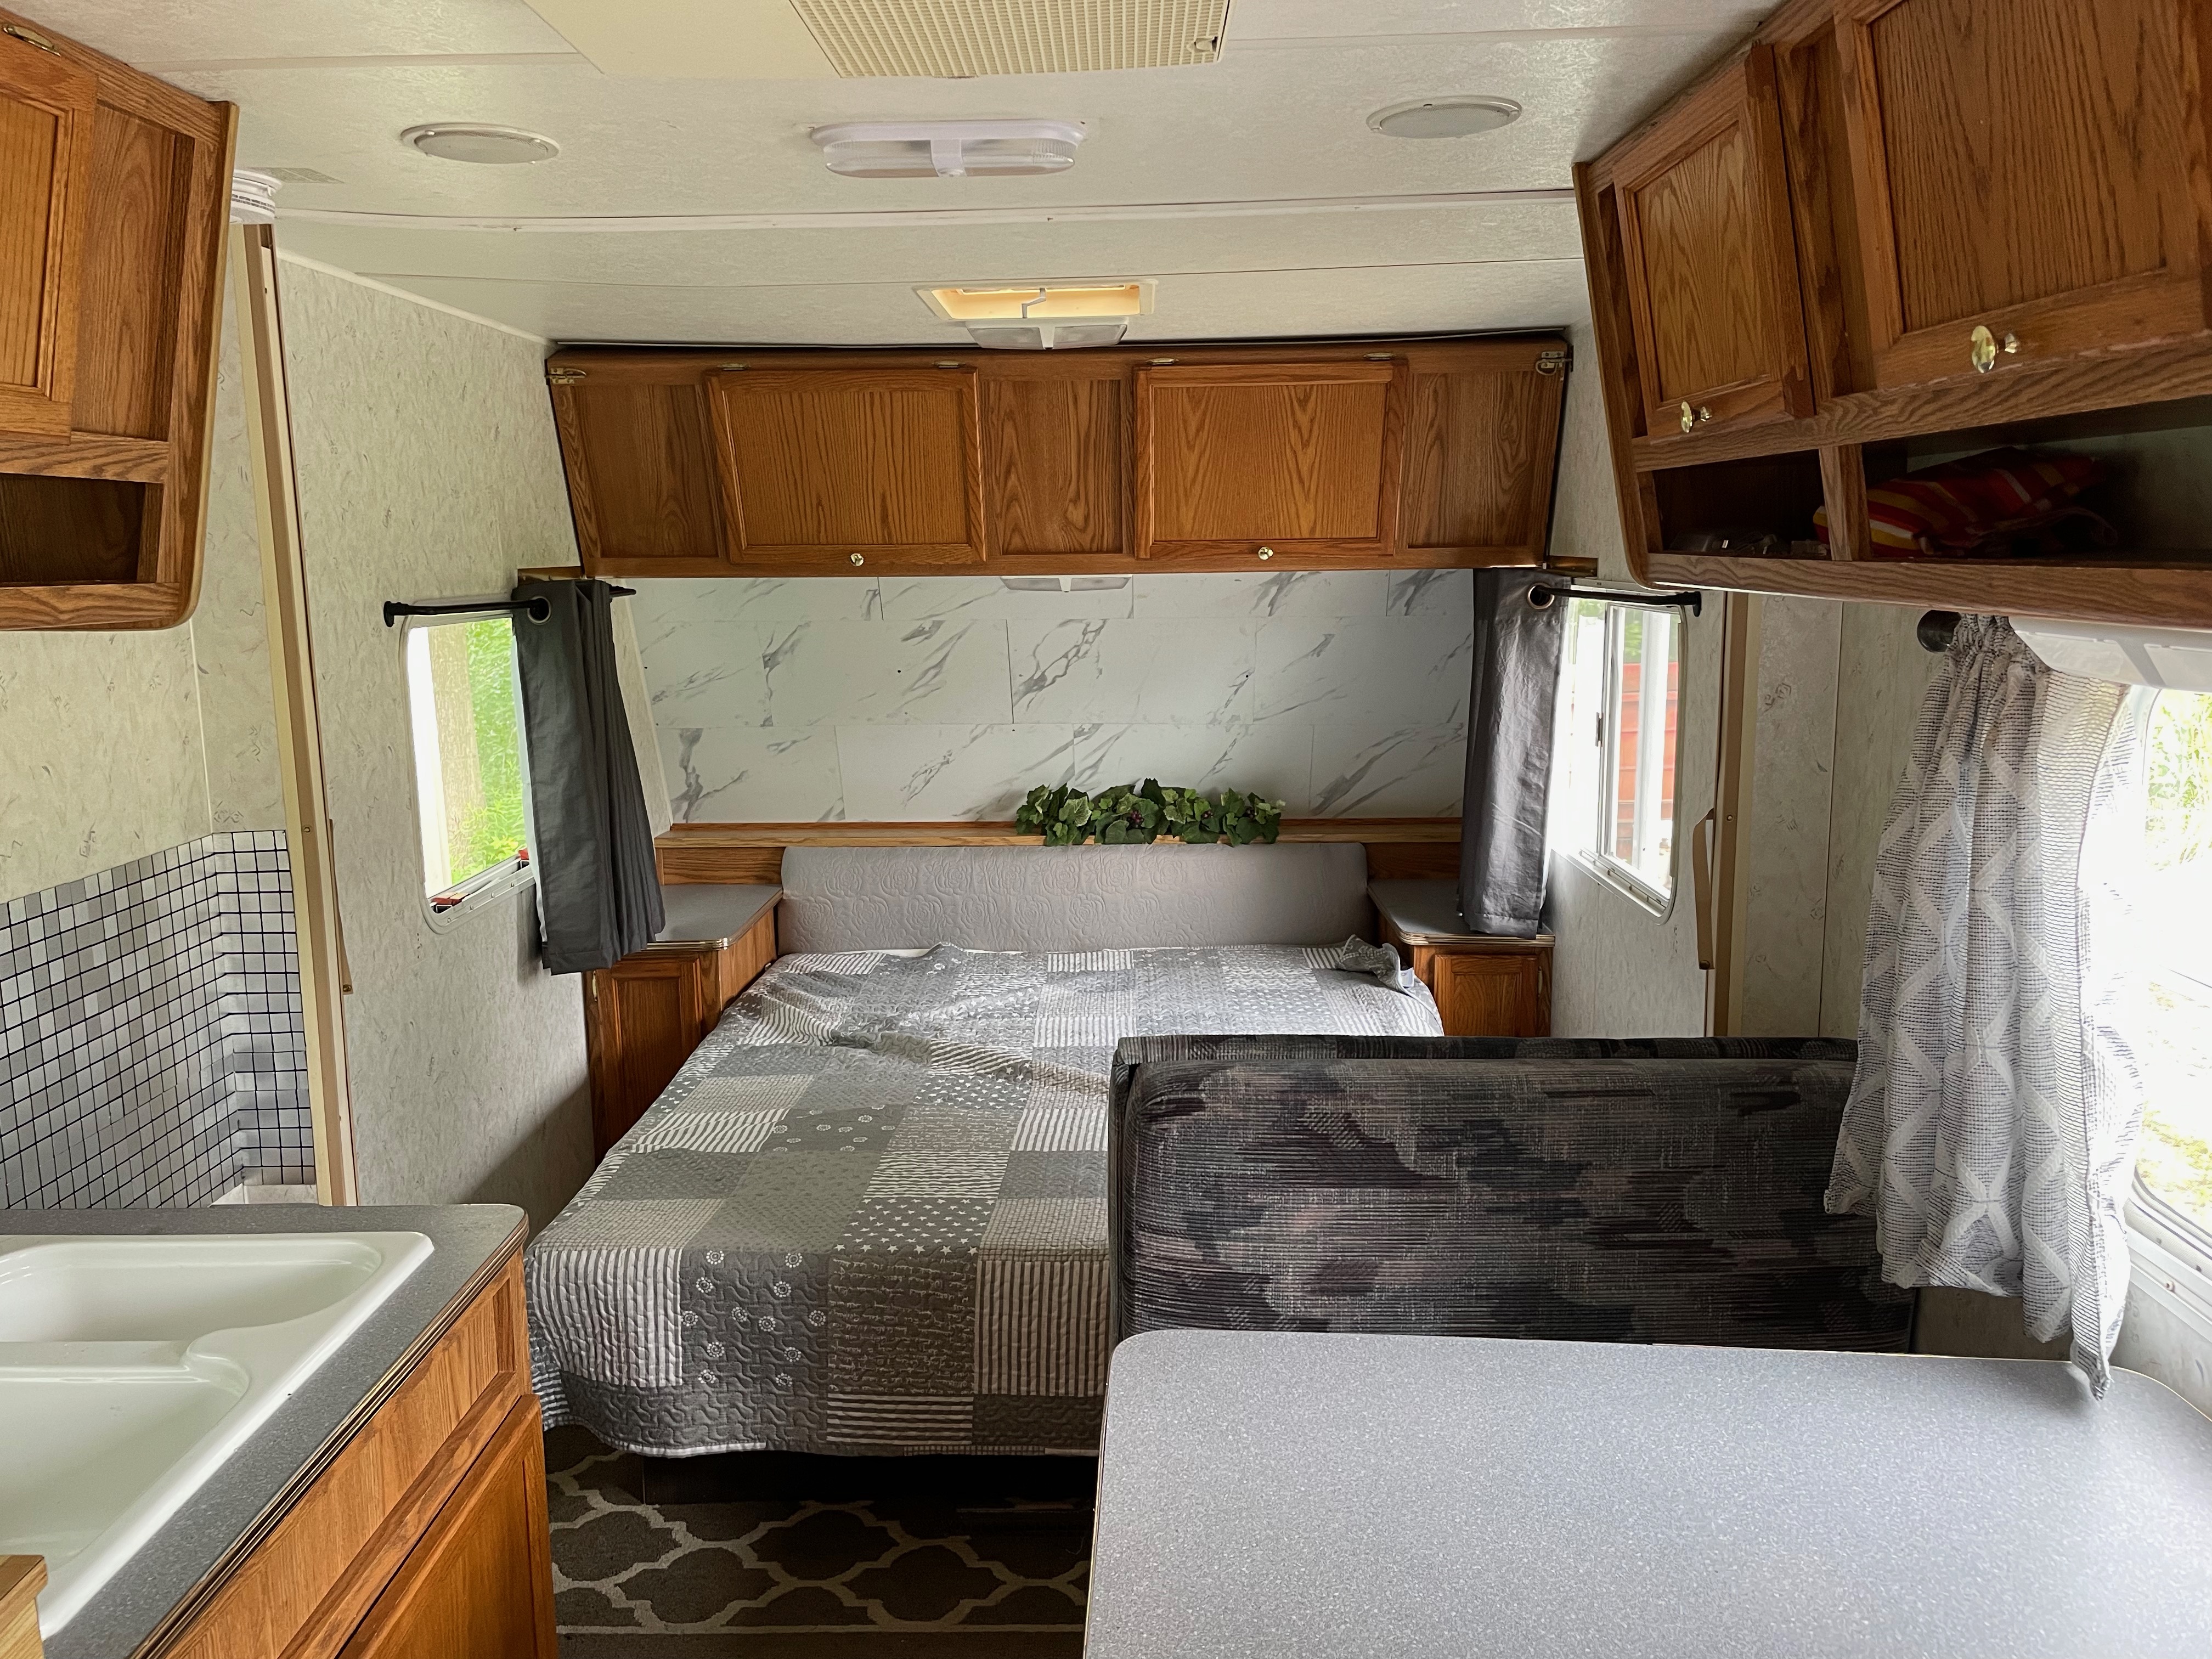
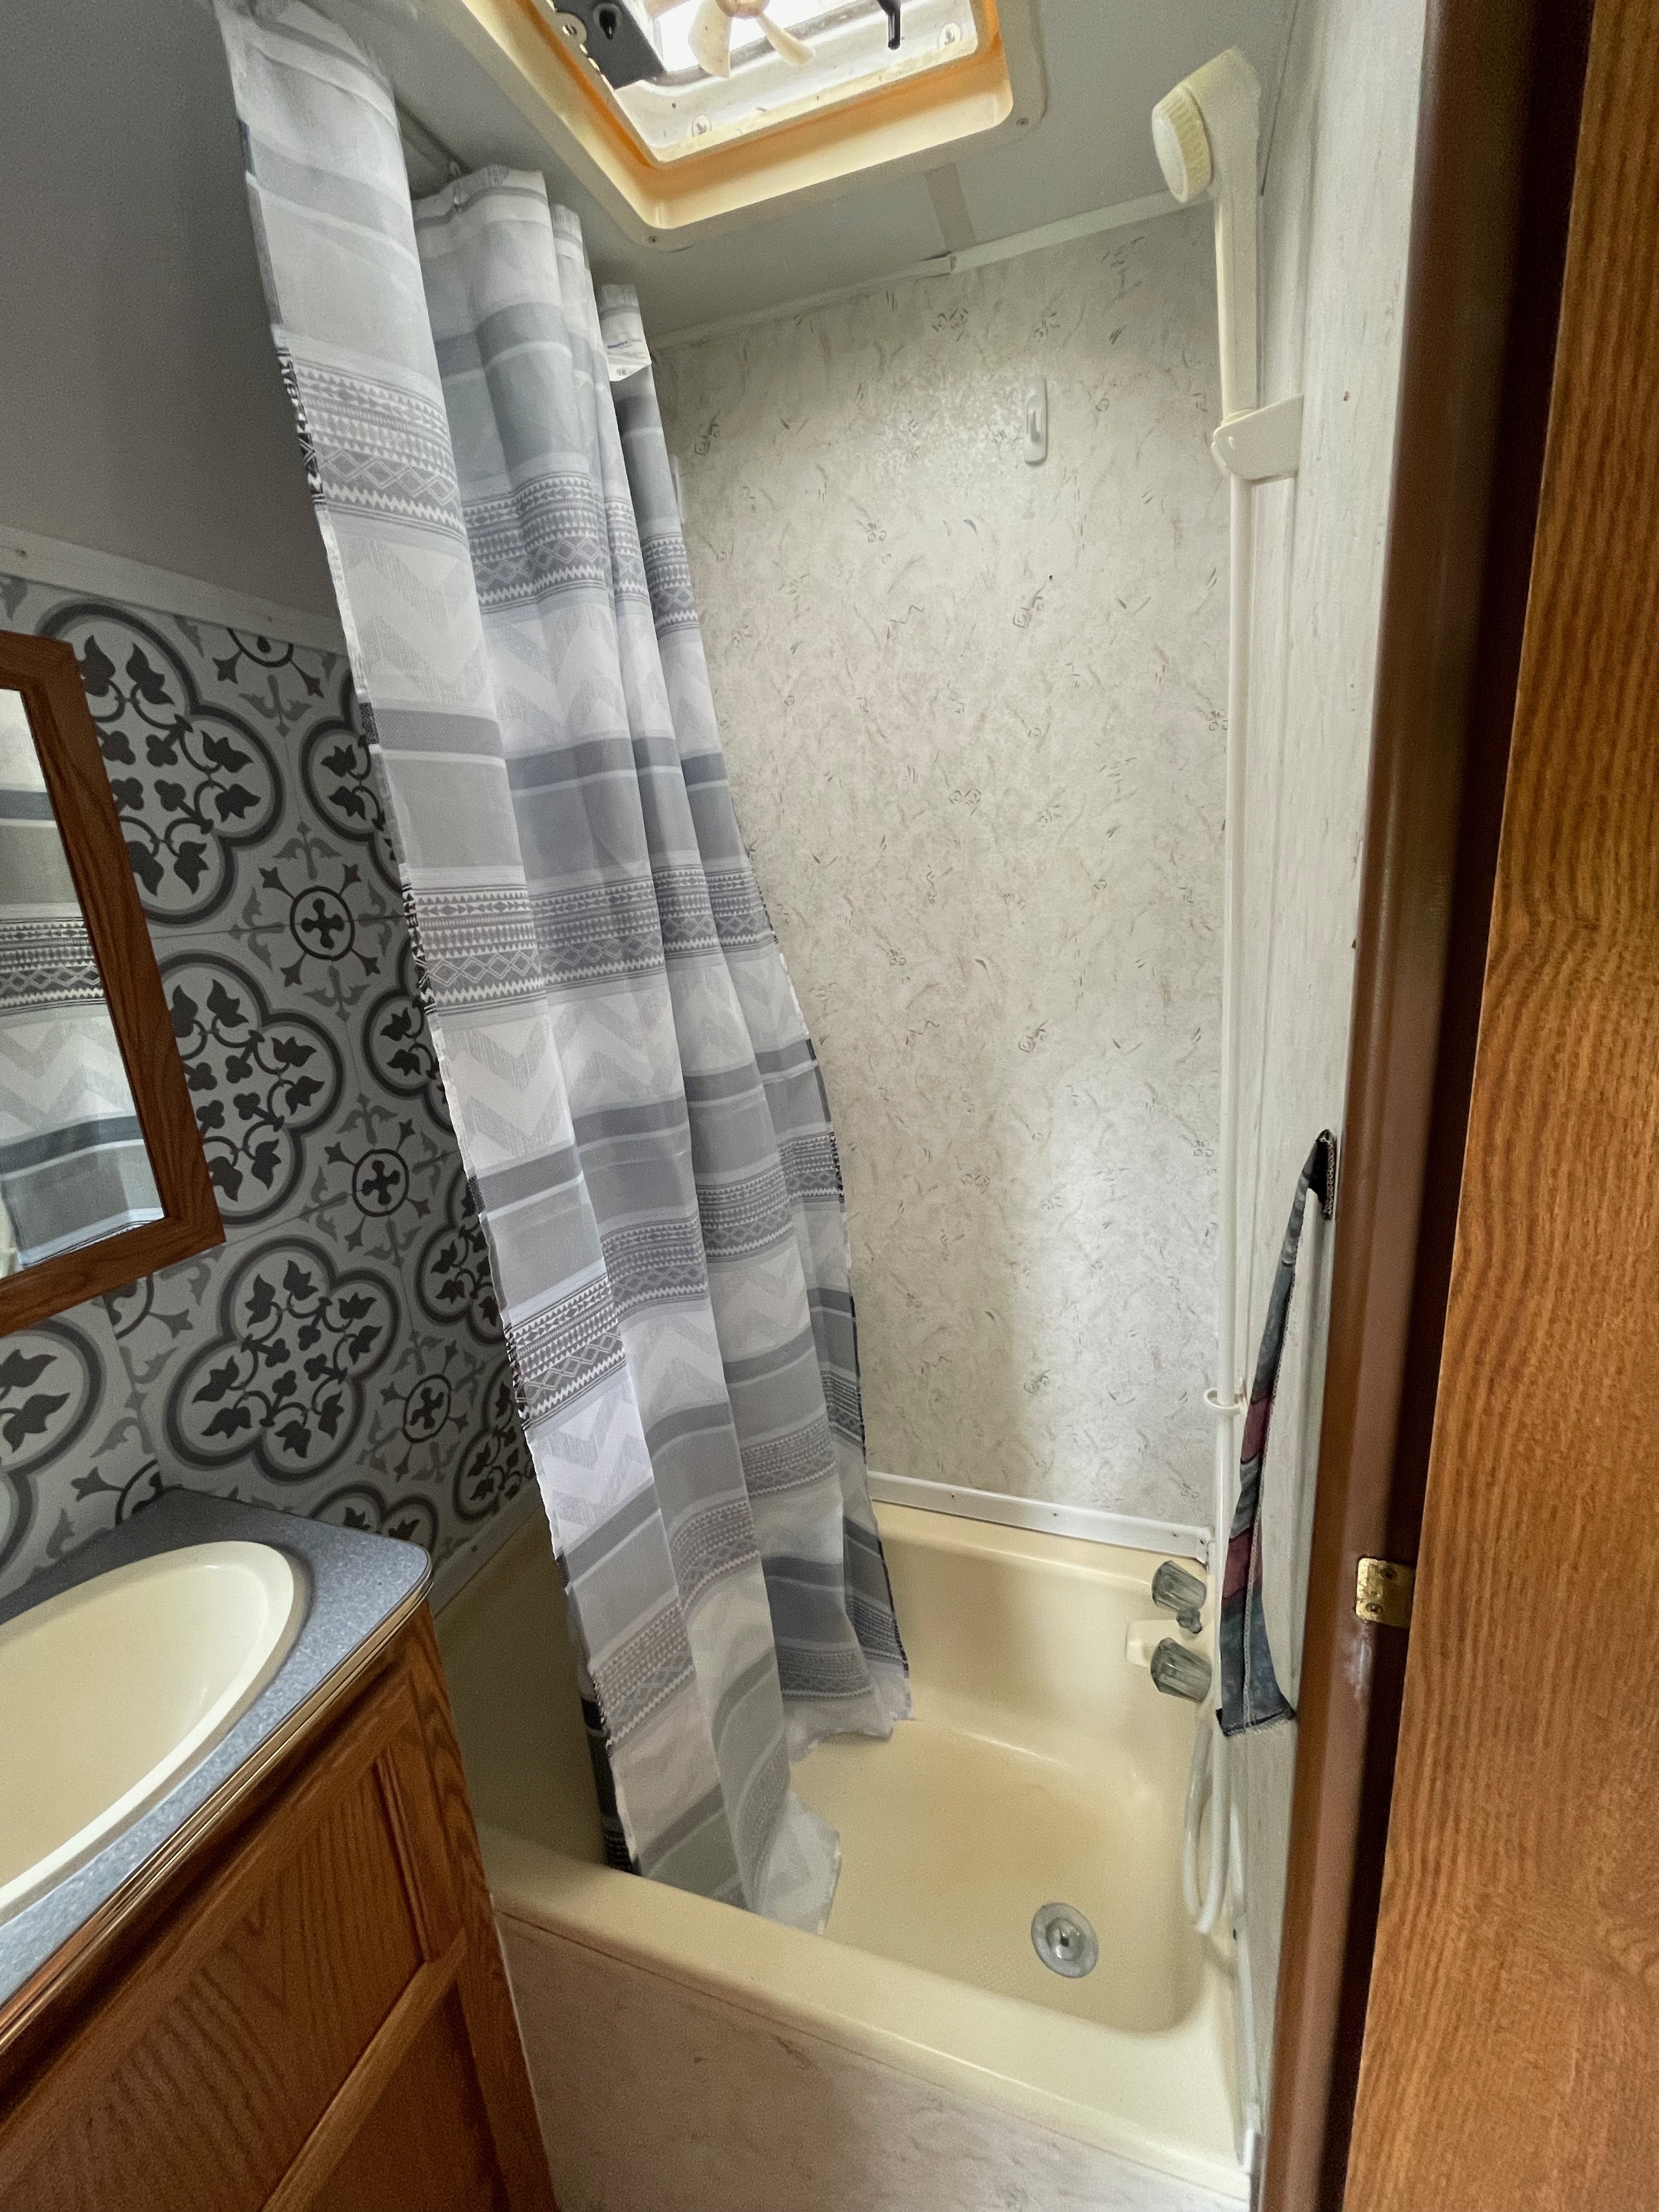
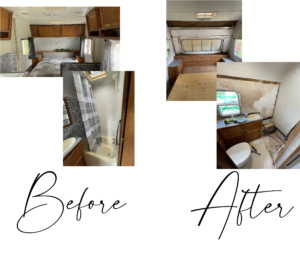
But before I do that I want to share what I did to get it looking from this
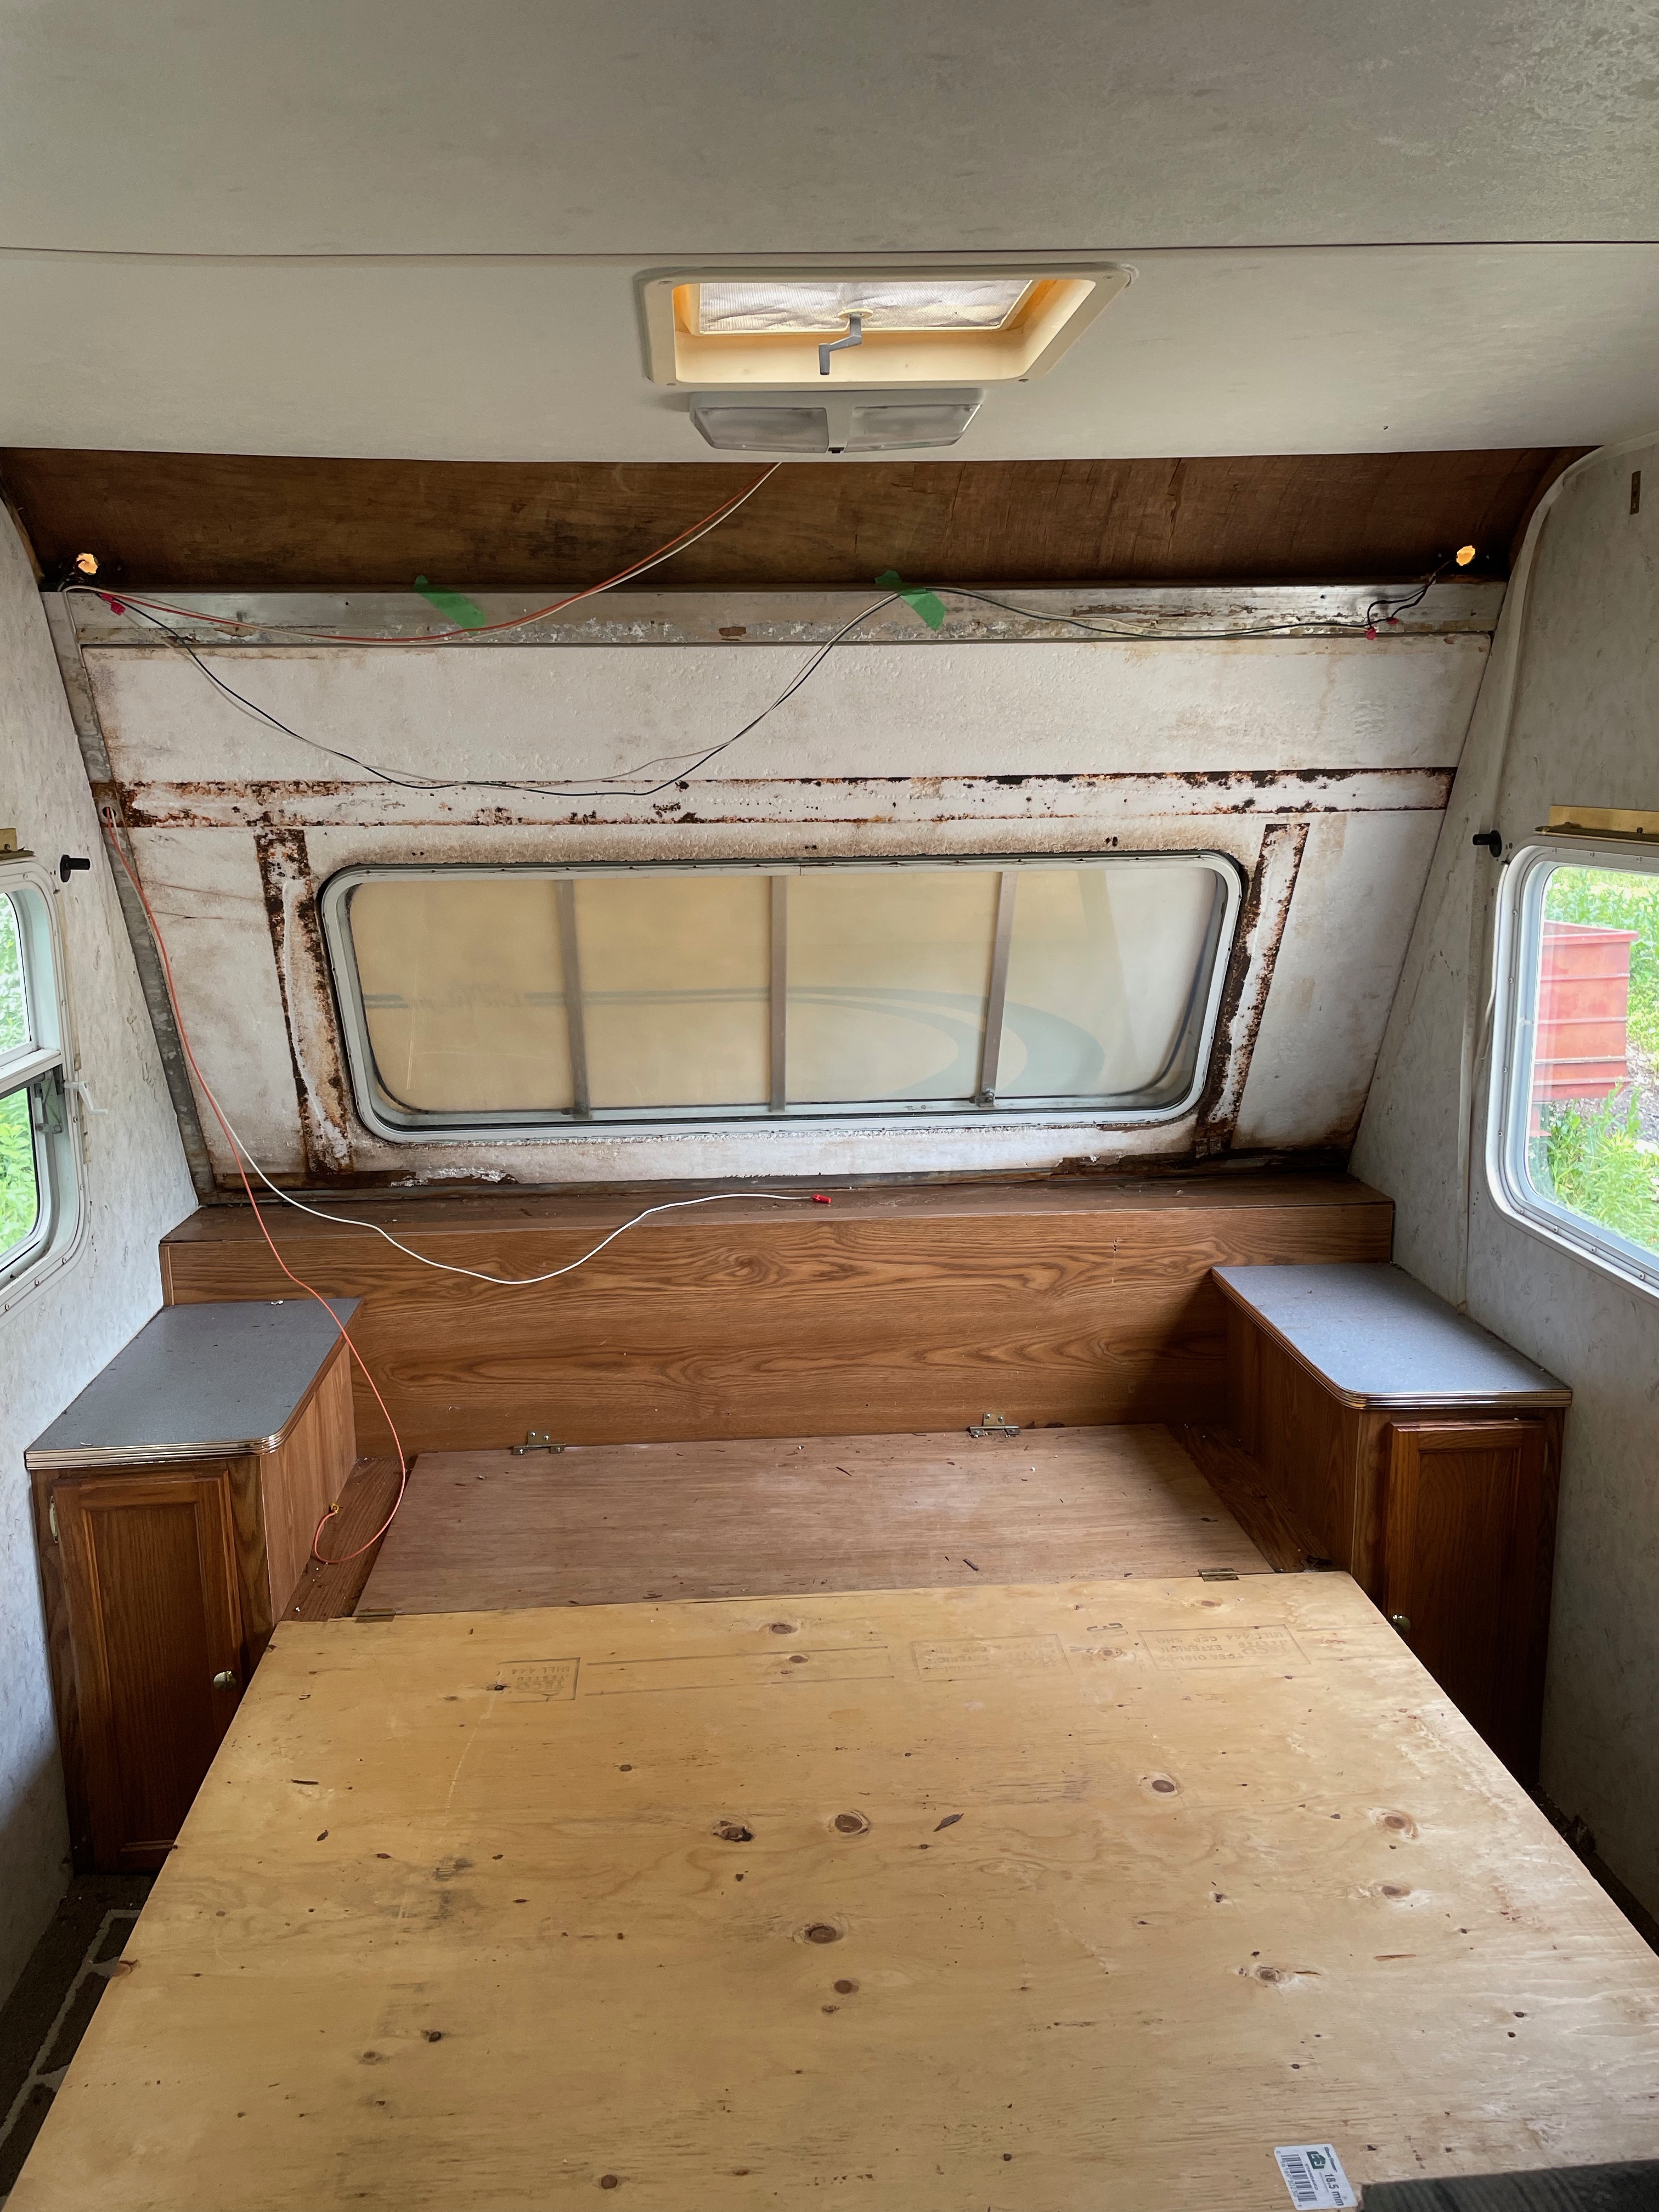
To this
I really wanted to customize every part of the trailer. So I started with the tiles behind the bed.
I actually didn’t mind the look of them but I knew there was a window back there and I wanted to be able to open it.
So I started by pulling all of the tiles off and then taking out the plywood board behind them.
Much to my surprise the wall behind that plywood was completely rotting out. The wood was flaking off in chunks and was actually still wet from the rain the day before.
I knew starting a reno project there were going to be surprises along the way but complete water damage was not what I was expecting.
So my timeline completely changed after that and I realised I needed to rip all of those boards down, reseal it and put up new boards.
I spent a while feeling all of the boards down because they came out in pieces. But after a long day I ended up with a bare wall ready to dry out.
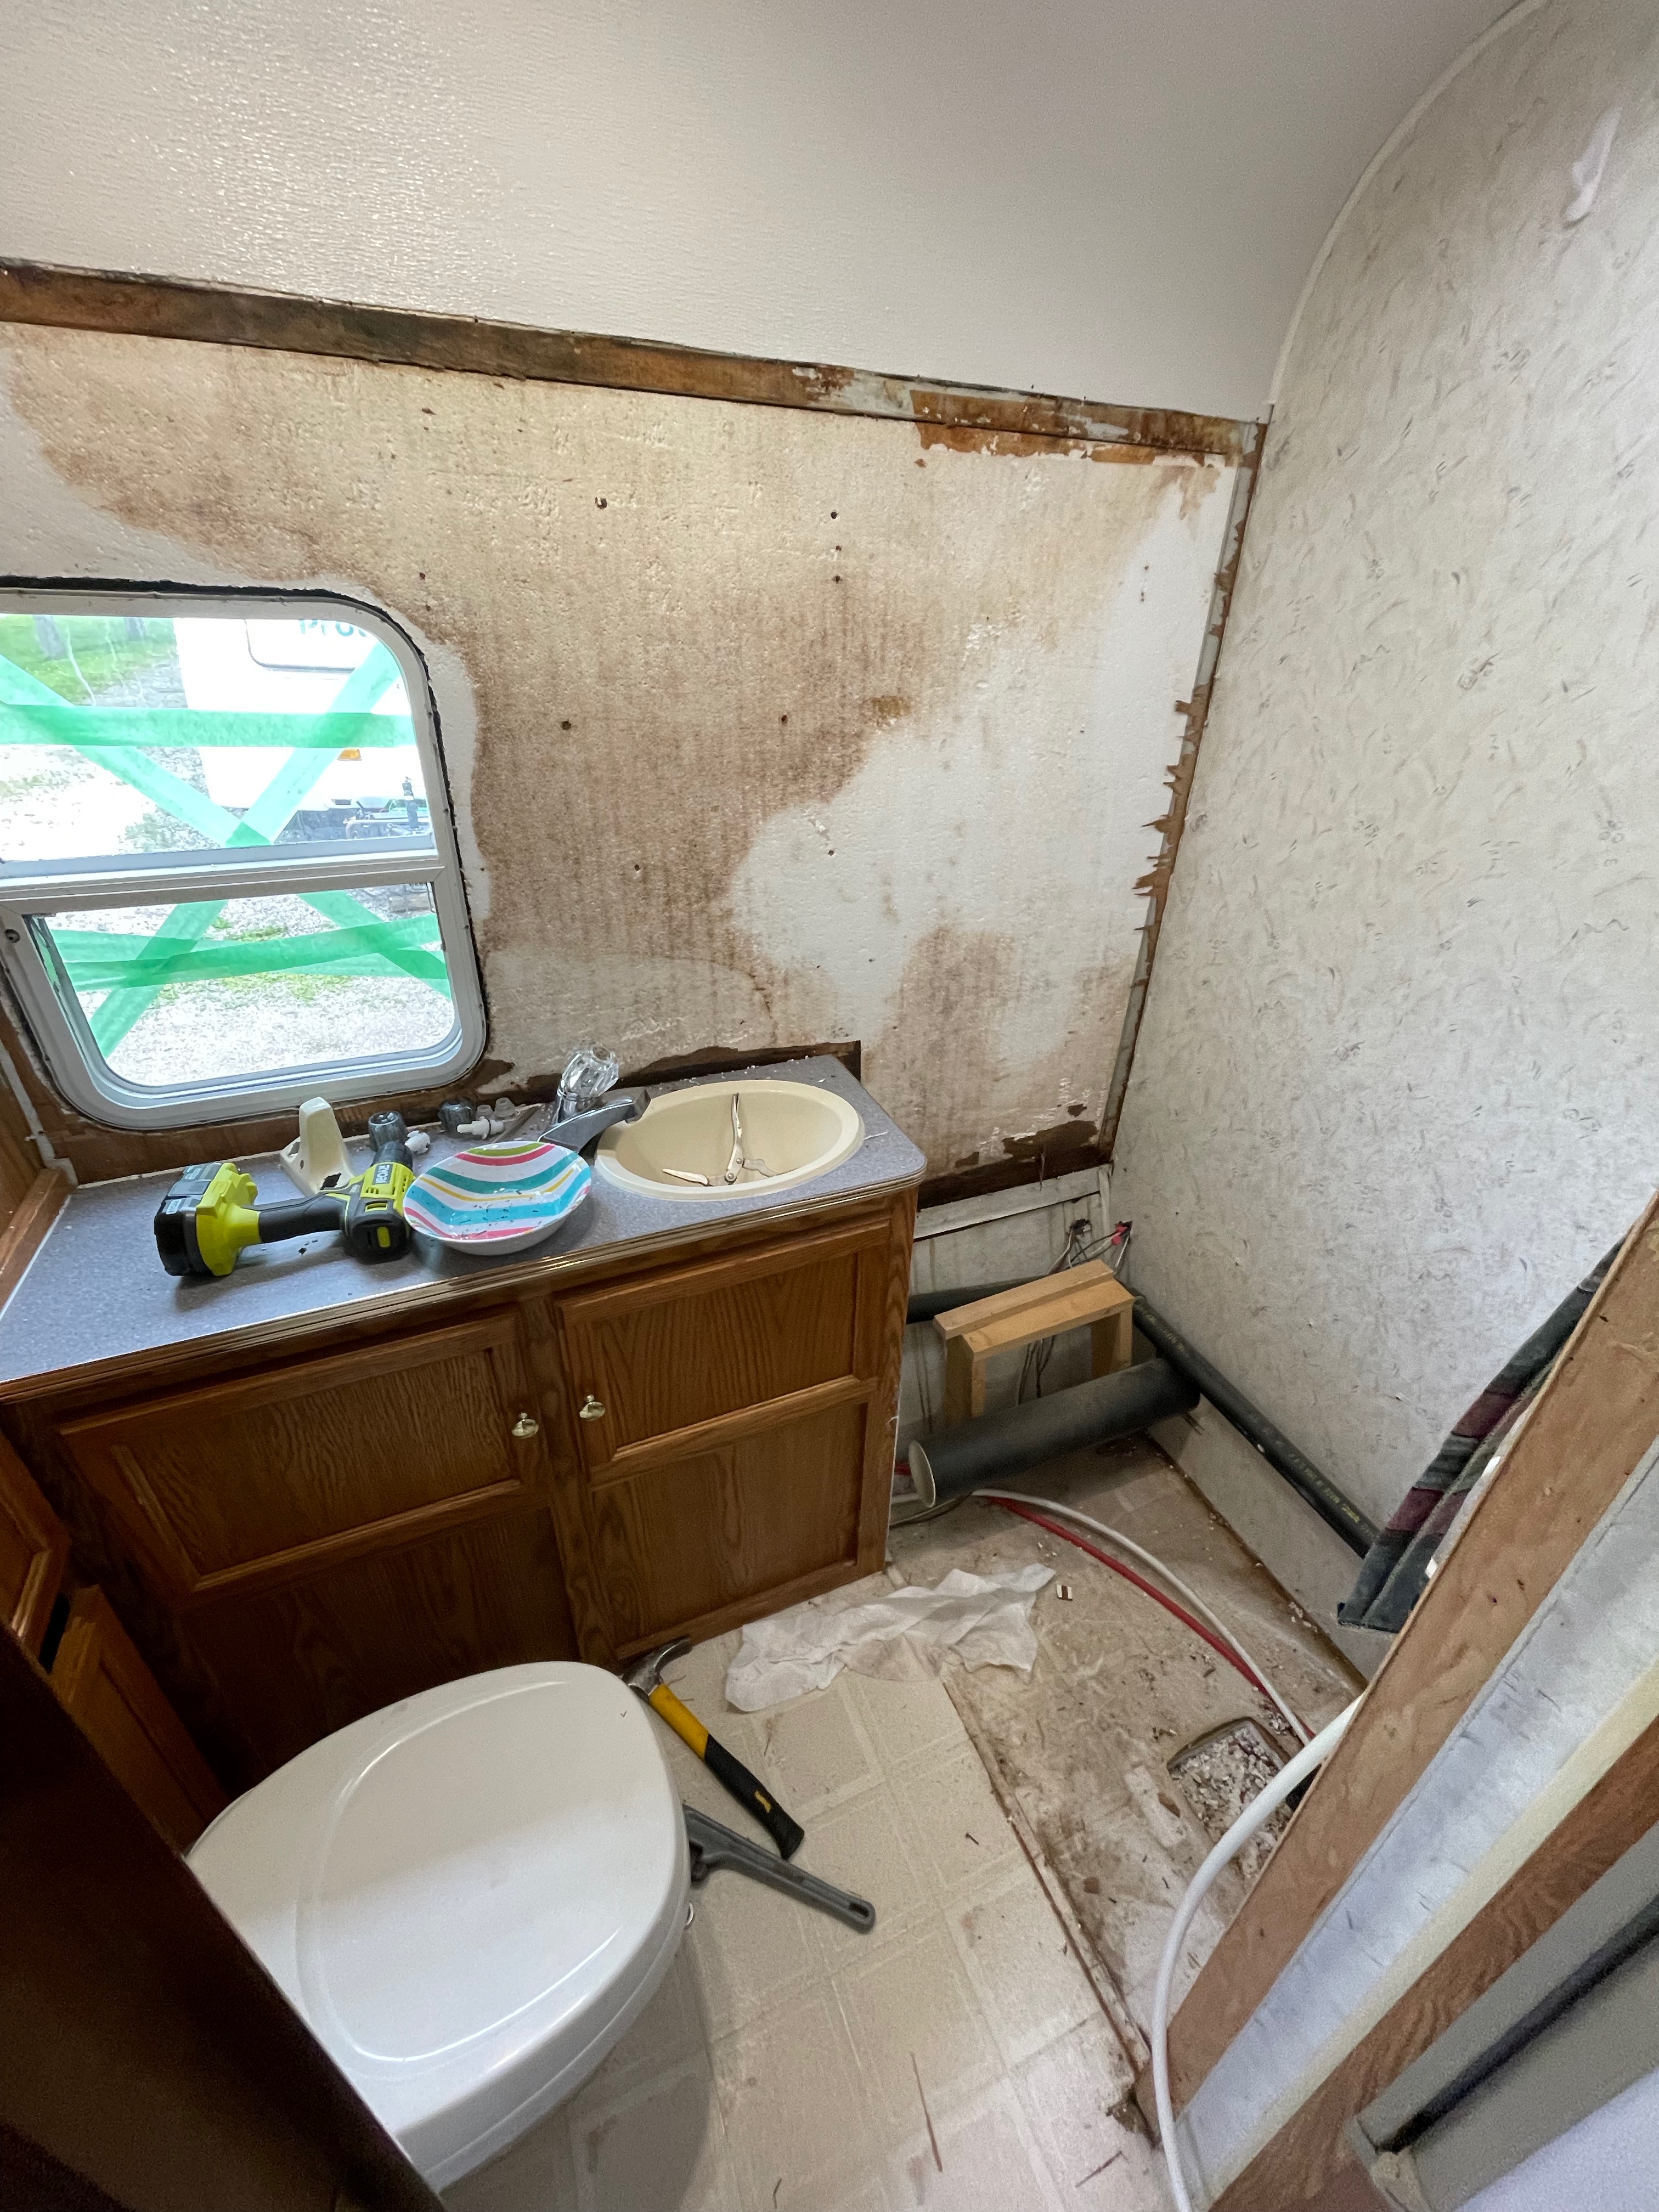
The next room I needed to tackle was the bathroom. I knew if there was water damage on the front there was most definitely water damage in the bathroom.
Sure enough when I took down the wall it was the exact same as the front wall, but now I was a pro at ripping it down.
I took on the role of plumber next and started taking the small discoloured tub out. It took a lot of time, a few scrapes, and a lot of frustration but I got the tub out!
Next I started on the flooring, as soon as I started pulling it up I found even more water damage. The subfloor was definitely wet but not rotted through thankfully!
It took a lot of scraping and a lot of time but the floors and all of it’s left over glue came up!
There were a few more last demo things I needed to finish.
I took down the backsplash in the kitchen and removed the sink and countertop in the bathroom.
There are all the tools I used to finish the demo on the RV:
- Crowbar
- Hammer
- Drill
- Drill bits
- Metal paint scraper
- Pliers
Here are some tips I’ve learned from demoing my RV.
- Slide the crowbar carefully behind a rotted wall and pull in large pieces. Watch out for rusted metal!
- Remove as much framing in the way when removing plumbing from the bathroom
- Wet the leftover residue from laminate flooring will peel up easier.
- Clean up at the end of every day, walking into a clean construction zone will make the space feel less.
- If your screws are rusted and are stripping try using a screwdriver with really hard pressure to remove them.
And that’s all for now!
I can’t wait to start the next step of the renovation and finally start seeing my vision come to life.
Xox Teag

