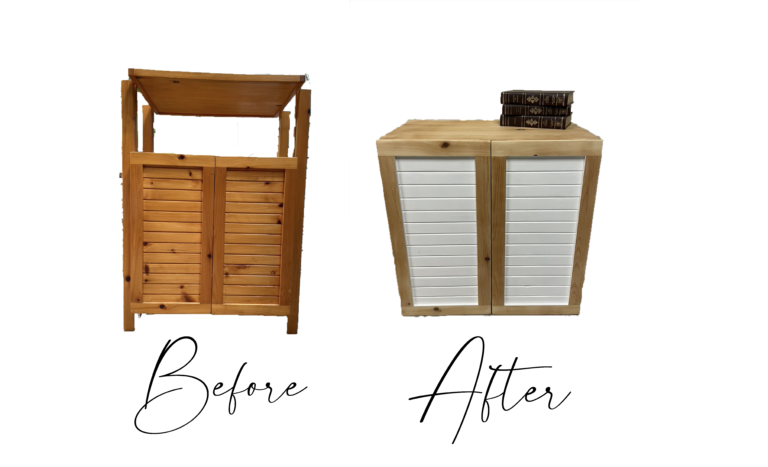
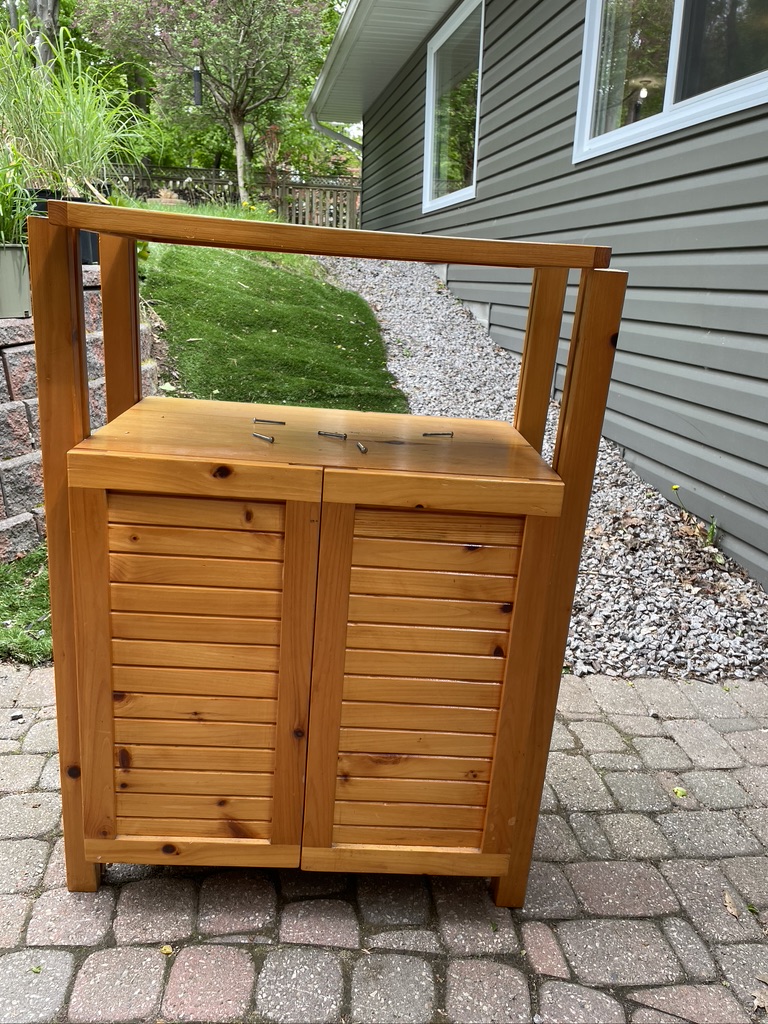
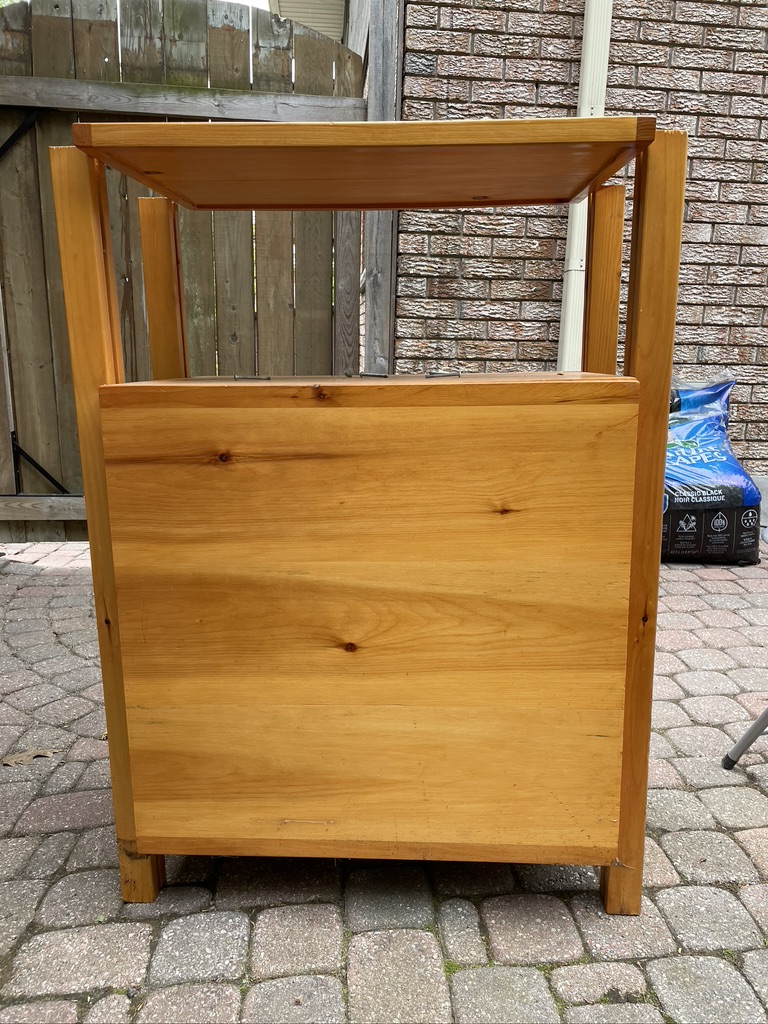
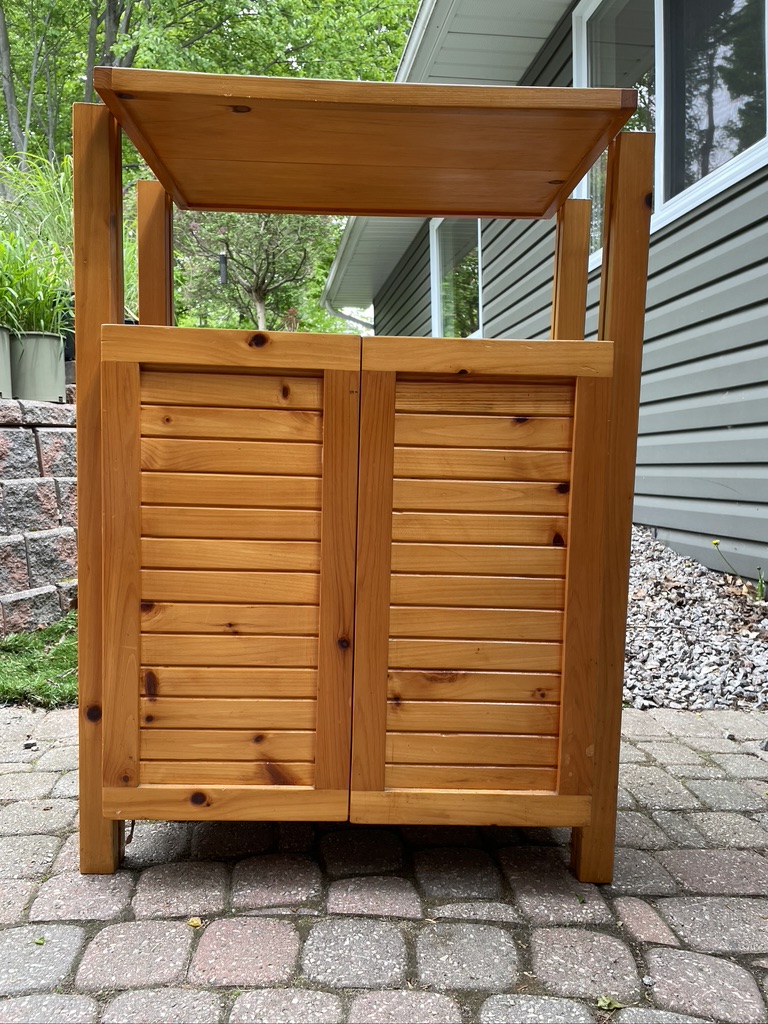
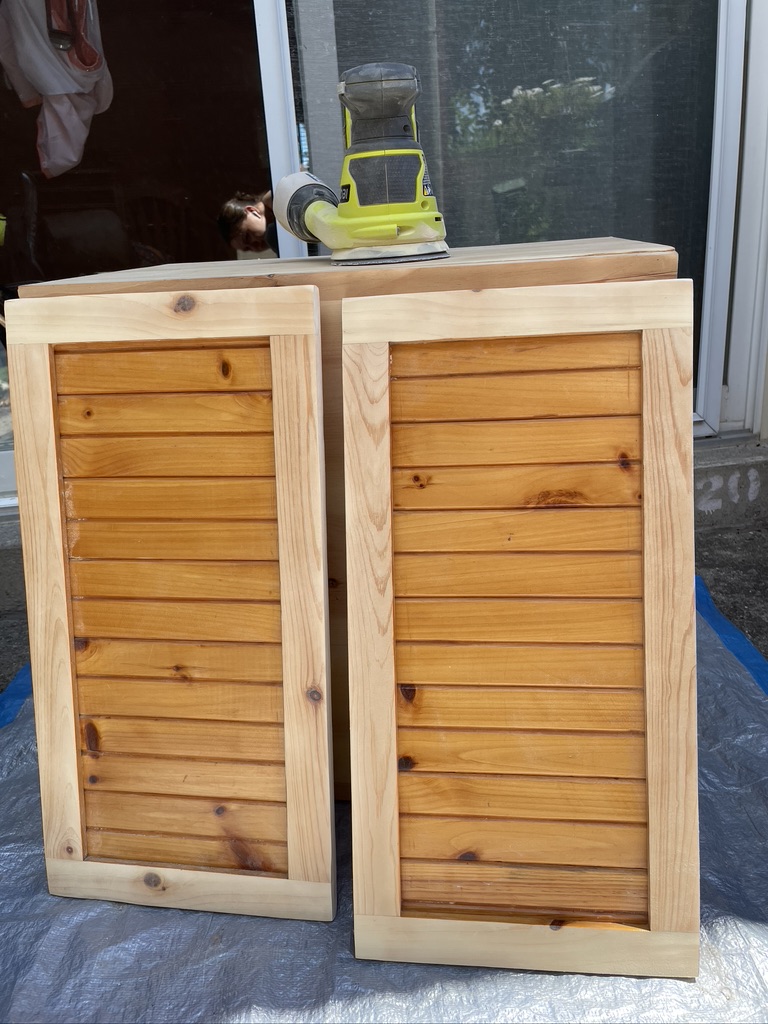
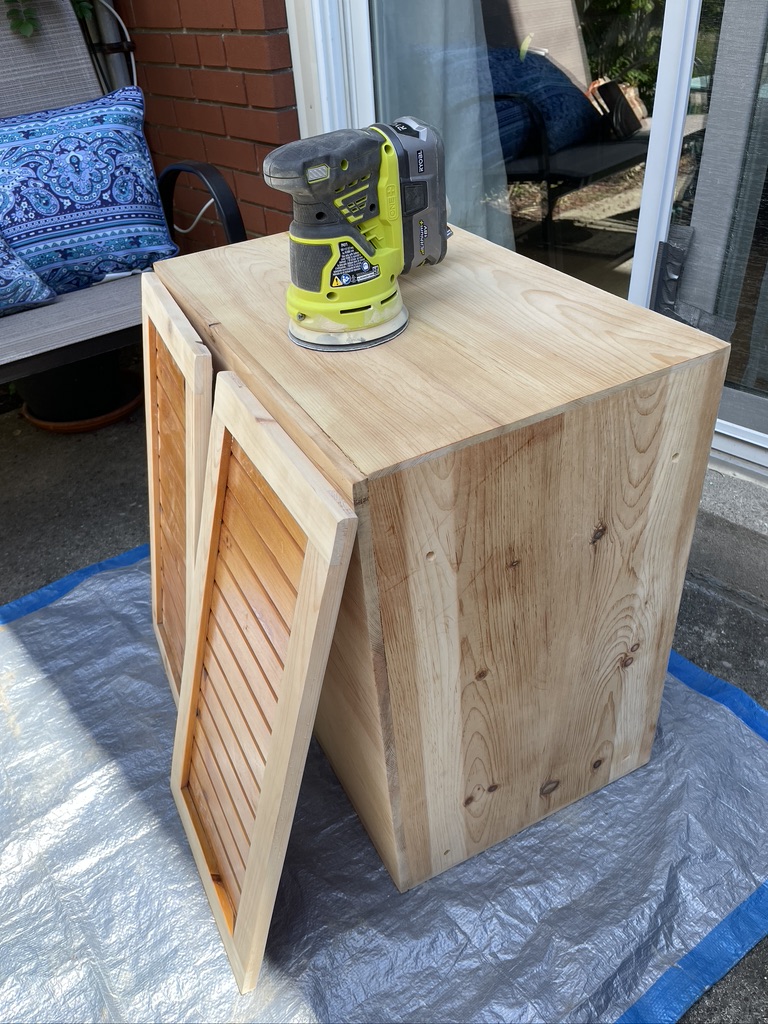
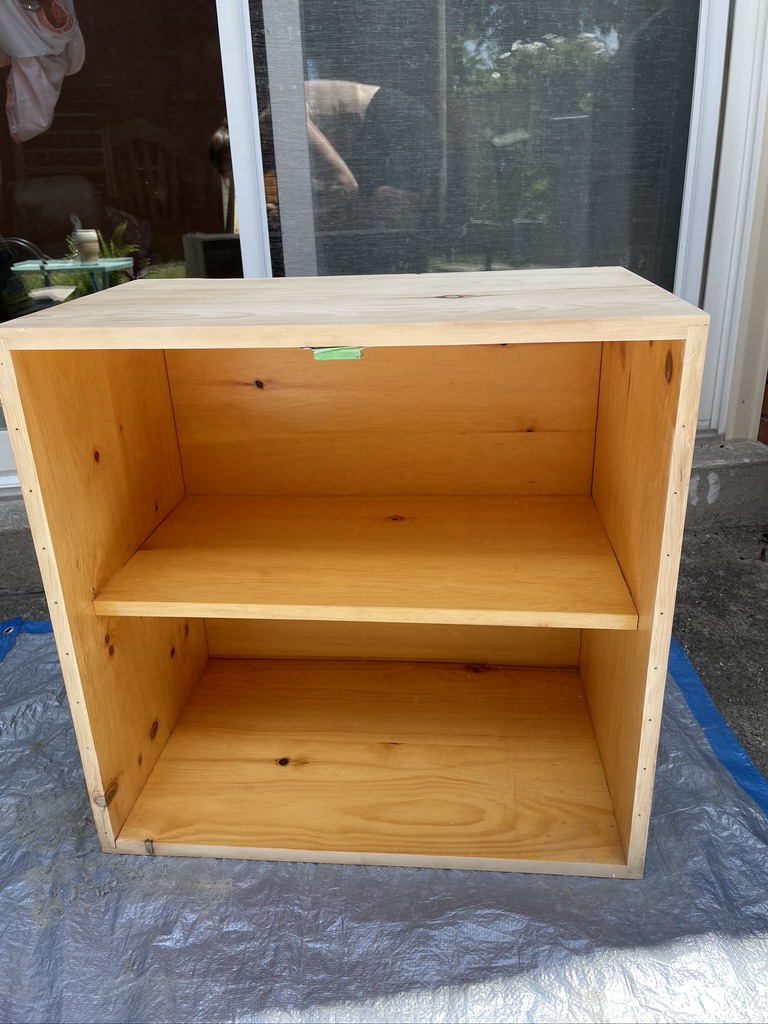
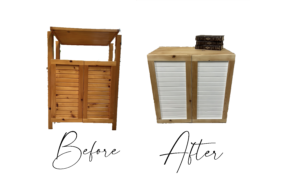
I got this cabinet from my sister’s who started their own business refinishing furniture. But It wasn’t really my style and had quite a few marks in it.
These are the before photos.
First thing I did was remove that top shelf and the “legs” that ran on the outside of the entire cabinet.
Then I started sanding. Once I realised the wood was a really nice light colour (just my style) I knew I had a lot of sanding ahead of me because I didn’t want to cover up that beautiful wood with paint.
So I sanded. I’m using the Ryobi cordless circular sander. I mostly used 80 or 100 grit paper for the first round of sanding.
And sanded
And sanded
And sanded some more
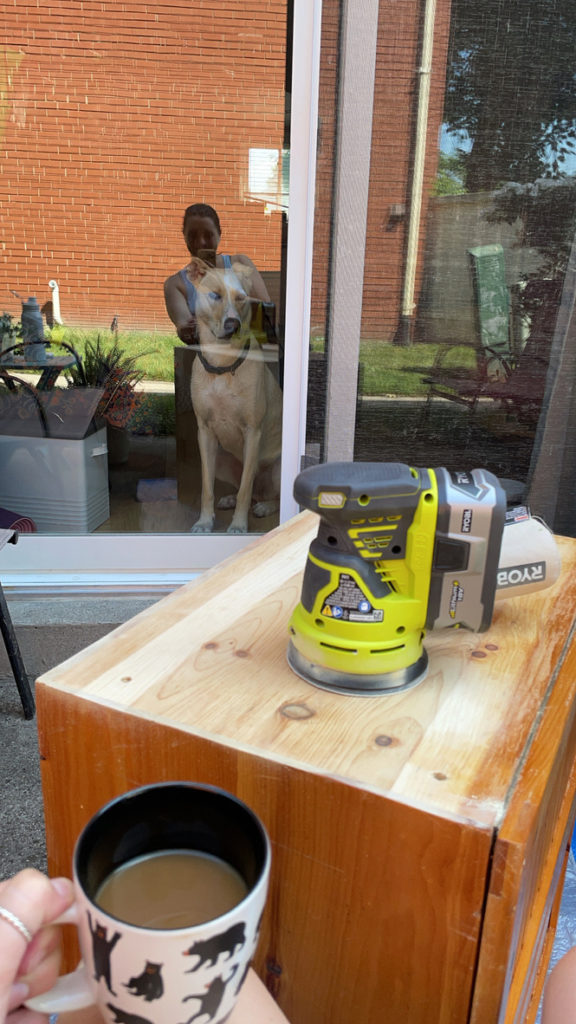
Then I needed to buy bigger batteries for my sander because it was just never going to happen
So I sanded some more
And some more
Then I bought a bigger charger for my bigger batteries and kept on sanding.
I needed to fill the screw holes left behind by those legs I took off, so I used wood filler to fill those in and sanded them smoothe.
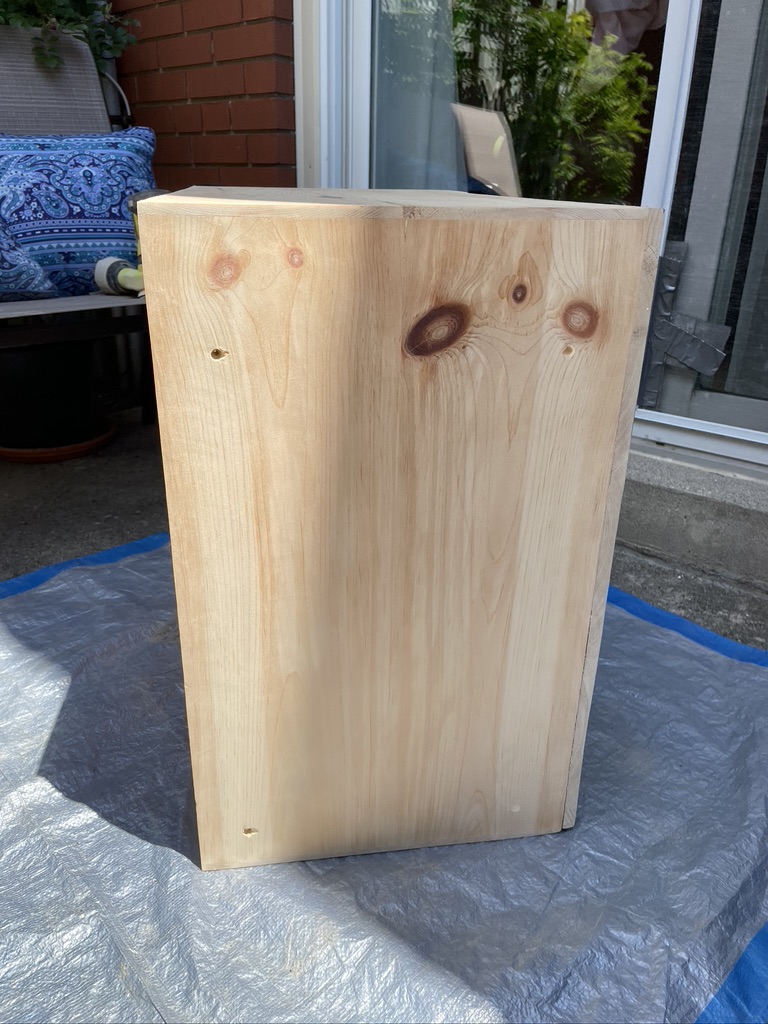
I used a bunch of different types of stains my mom had in her garage to test out which one would give the least yellow hue.
These were the samples.
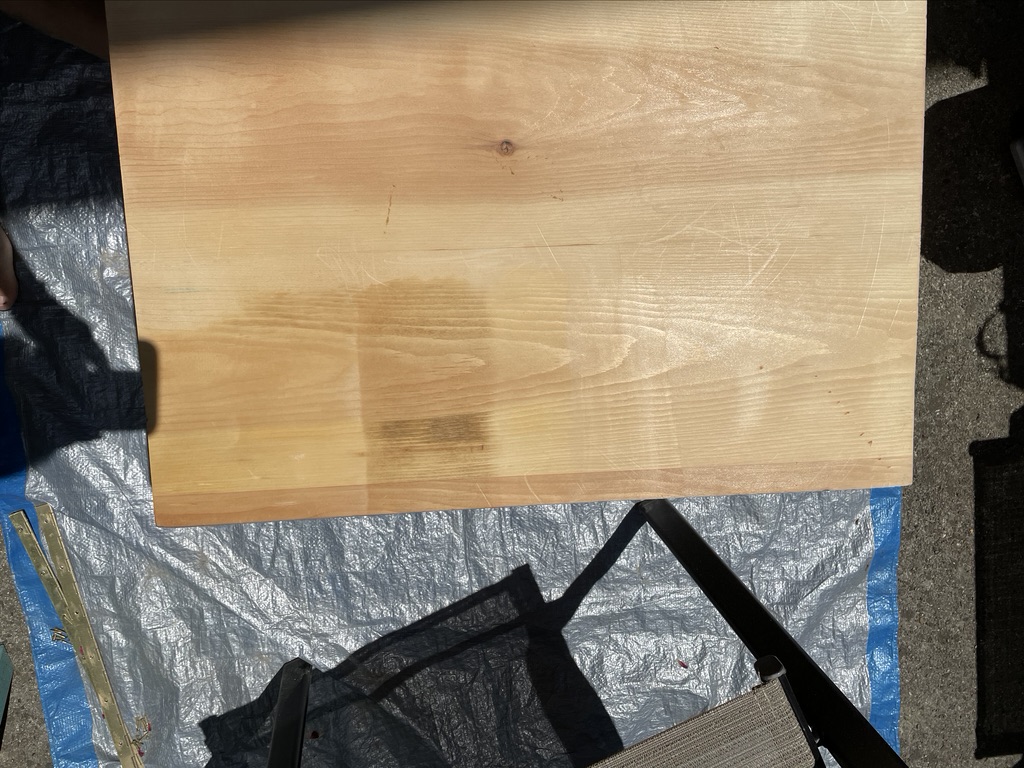
I chose the fourth option because it looked like it was finished but didn’t change the colour as much as the other options.
I applied the stain with a clean paintbrush along the entire cabinet.
Then I taped the doors so I could paint the middle slats of the door (NO WAY I was going to try and sand those down)
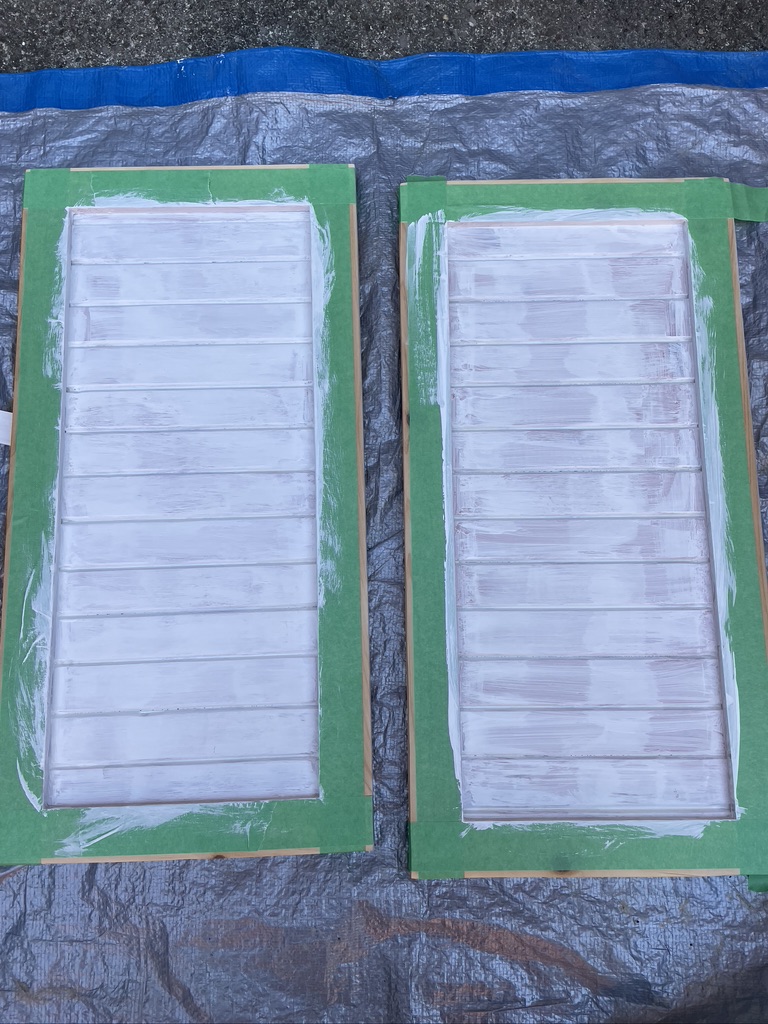
First I used the STIX primer in white. This primer gives a rough `sticky” finish so you don’t have to sand it beforehand (Thank goodness!!)
Then I used a 120 grit piece of sandpaper and hand sanded down the primer so my paint would go on smoothe.
I used Benjamin Moore Simple White.
The first coat went on with a lot of streaks, so with some advice from the expert (my mom) I did the second coat inside with the AC on and it went on smooth as butter.
Then I just needed to put the door back on and here it is!
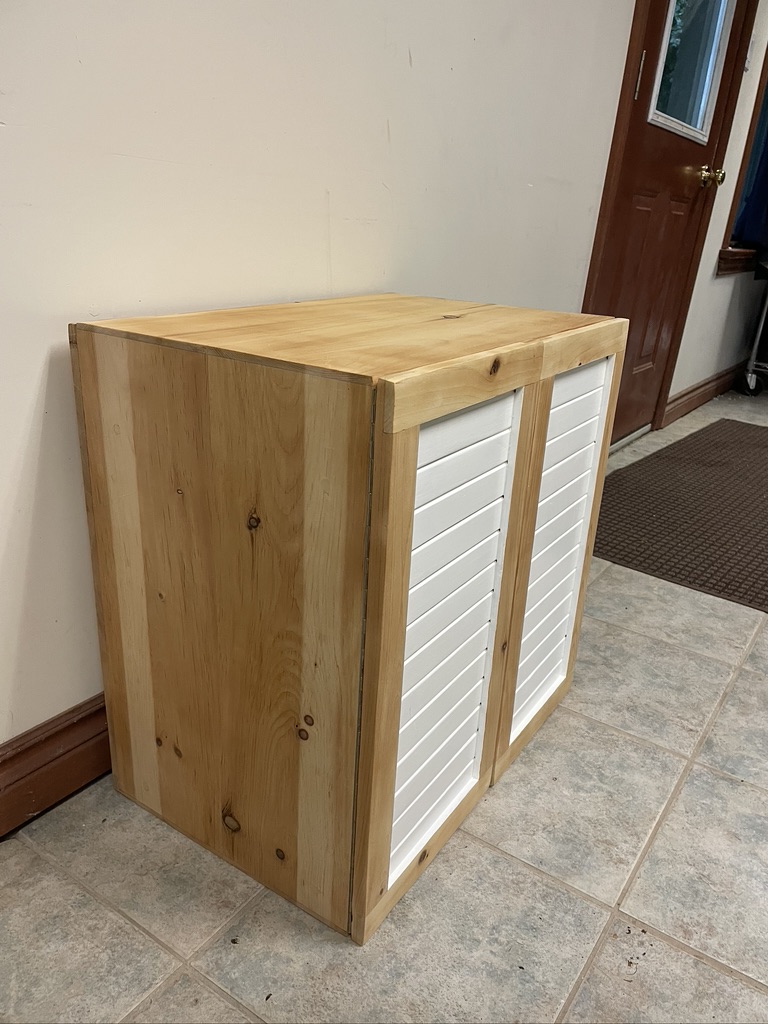
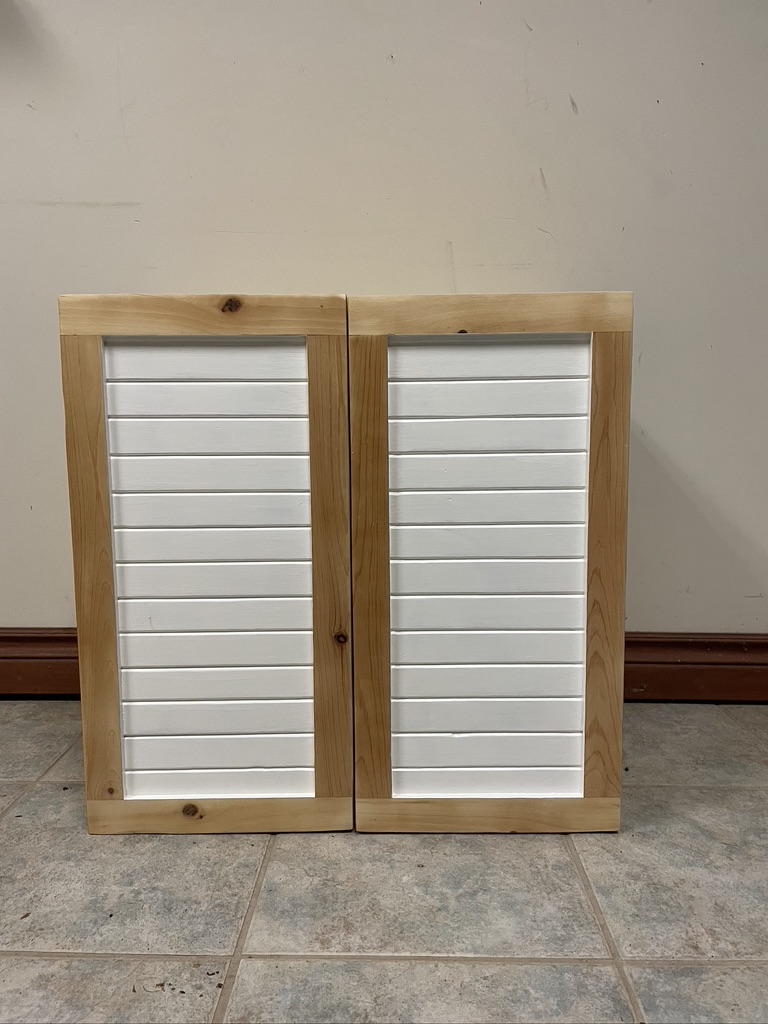
I might still add some knobs to the doors and legs but I don’t know where it’s going yet so I’m going to wait until I know what space it’s going into.
Remember you don’t have to buy new expensive furniture to get exactly what you were looking for! All you need is a little hard work and some time 🙂
Thanks for coming by and doing some DIY with Teag!

